You’ve finally positioned your speakers for that perfect, immersive sound. But now, a messy web of cables snakes across your floor, a tripping hazard and an eyesore that ruins your room’s clean vibe. Sound familiar? Don’t worry, you’re not alone. The good news is that achieving a professional, wire-free look is entirely possible.
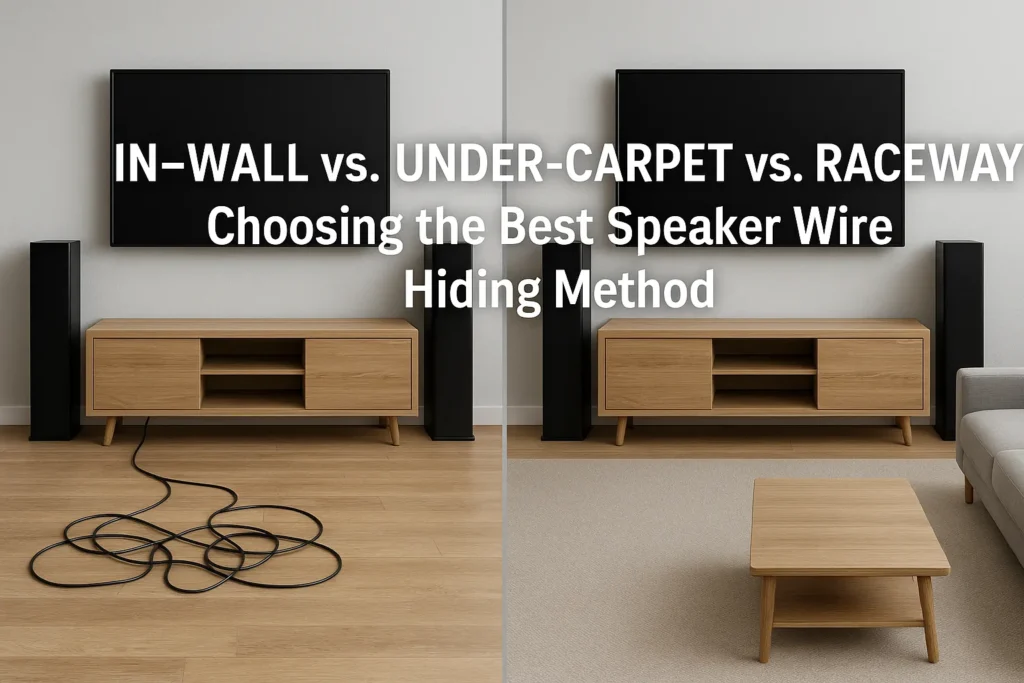
The three most popular solutions are running wires in-wall, under-carpet, or using a raceway. Each has its own superpowers and shortcomings. This guide will break down each speaker wire hiding method in detail, comparing them on difficulty, cost, aesthetics, and safety to help you choose the best way to hide speaker wire for your unique space.
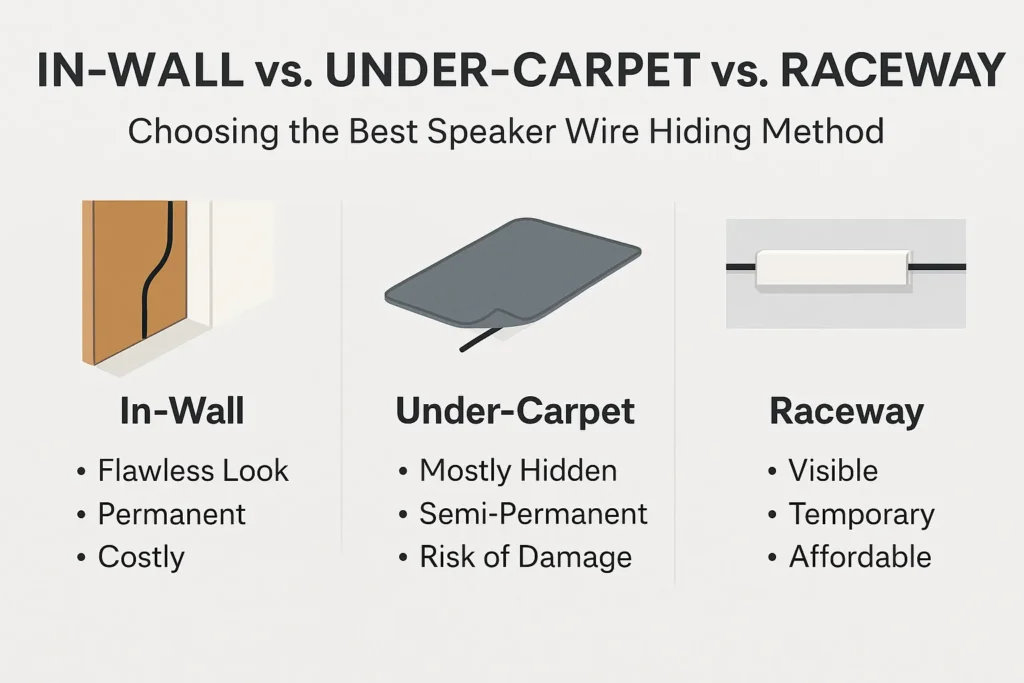
The Ultimate Comparison: At a Glance
Need a quick answer? This table summarizes the key differences between in-wall, under-carpet, and raceway solutions.
| Feature | In-Wall | Under-Carpet | Raceway |
| DIY Difficulty | Hard | Medium | Easy |
| Cost | $$$ (if hiring pro) | $ | $$ |
| Aesthetics | Flawless (Invisible) | Good (Mostly Hidden) | Fair (Visible) |
| Permanence | Permanent | Semi-Permanent | Temporary |
| Rental-Friendly | No | Maybe | Yes |
| Best For | Homeowners, custom builds | Homes with carpet | Renters, easy DIY |
Method 1: The In-Wall Solution (The Professional Standard)

For those who want a truly seamless look, the in-wall method is the gold standard. This involves routing your cables through the internal cavities of your walls or ceiling, making them completely invisible.
How It Works & Installation Process
This process is the most technically involved. It typically requires cutting precise holes in the drywall, using a fish tape to pull wires through the wall studs, installing low-voltage mounting brackets, and then patching and painting the drywall. It’s a project that demands patience and the right tools, like a drywall saw and a stud finder.
Anchor Text Suggestion for your Pillar Page:
“For a complete, step-by-step walkthrough of this entire process, check out our master guide on how to hide every speaker wire in your living room.”
- Critical Safety Note: If you pursue this method, you must use CL2/CL3 rated in-wall speaker wire. This special jacket is designed to be fire-resistant and meets safety codes for running inside walls, preventing a serious potential hazard.
Pros of Hiding Speaker Wire In-Wall
- Unbeatable Aesthetics: The end result is a perfectly clean, professional-looking installation with zero visible wires. It’s the ultimate solution for aesthetics.
- Permanent and Protected: Once inside the wall, your cables are safe from damage, pets, and vacuum cleaners.
- Adds Value: A clean, built-in installation can be a subtle selling point that adds to your home’s value.
Cons of Hiding Speaker Wire In-Wall
- High DIY Difficulty: This is not typically a beginner-friendly project. Mistakes can be costly to fix.
- Can Be Costly: If you hire a professional, the labor costs can add up quickly.
- Invasive and Messy: Be prepared for drywall dust, noise, and the general mess of construction.
- Not for Renters: This is a permanent alteration that is almost never allowed in a rental property.
Method 2: The Under-Carpet Solution (The Stealthy Approach)
If your room is carpeted, you have a fantastic stealth option. The under-carpet method involves tucking wires discreetly beneath the carpet and padding, often running them along the edge of the room where the carpet meets the wall.
How It Works & Installation Process
The best way to do this is to carefully lift the edge of the carpet from the tack strip that holds it in place around the perimeter of the room. You can then lay the wire in the gap and gently press the carpet back onto the strip.
Anchor Text Suggestion for a Previous Article:
“While this works with regular wire, using specifically designed flat speaker wire is highly recommended, as we discussed in our article on low-profile cable management solutions.”
You can also sometimes tuck wires under the baseboard or moldings for a similar effect.
Pros of Hiding Speaker Wire Under Carpet
- Good Balance of Look and Effort: It offers a mostly invisible result without the major construction required for in-wall routing.
- Less Invasive: There’s no cutting into drywall required, which is a huge plus for many homeowners.
- Relatively Low Cost: The primary expense is just the cost of the flat wire itself, making it a very affordable solution.
Cons of Hiding Speaker Wire Under Carpet
- Risk of Damage: Wires can be pinched by the sharp tack strip, crushed by heavy furniture legs, or potentially chewed by pests.
- Not Universal: This method is obviously only viable in rooms with carpet that can be lifted.
- Potential Tripping Hazard: If not done carefully, a lump can form that can be felt underfoot.
Method 3: The Raceway Solution (The Renter’s Best Friend)
For those who need a simple, non-destructive fix, a wire hiding raceway is the hero you’ve been looking for. These are plastic or vinyl channels that stick or screw to your wall or baseboard, allowing you to bundle your wires inside them and out of sight.
How It Works & Installation Process
The installation is famously easy. Simply clean the surface, peel off the adhesive backing, and press the raceway into place along your baseboard or wall. Some models are screw-mounted for extra security. Many are also paintable, allowing you to blend them seamlessly with your wall color.
Pros of Using a Speaker Wire Raceway
- Extremely Easy DIY: This is by far the simplest solution, requiring no special skills or tools. It’s the ultimate quick win.
- Perfect for Renters: It is completely reversible, leaving no damage or marks behind—making it the most rental-friendly option available.
- Very Affordable: Raceway kits are generally very inexpensive, offering a high-impact solution on a tight budget.
Cons of Using a Speaker Wire Raceway
- Visible: Even when painted to match, the raceway itself will still be visible on the wall as a slight protrusion. It hides the wires but doesn’t disappear itself.
- Can Look “Tacky”: If not installed neatly in straight lines, it can look like a clumsy afterthought rather than a integrated solution.
- Adhesive Can Fail: Over time, especially with temperature changes, the adhesive on cheaper models can weaken and cause the raceway to peel away from the wall.
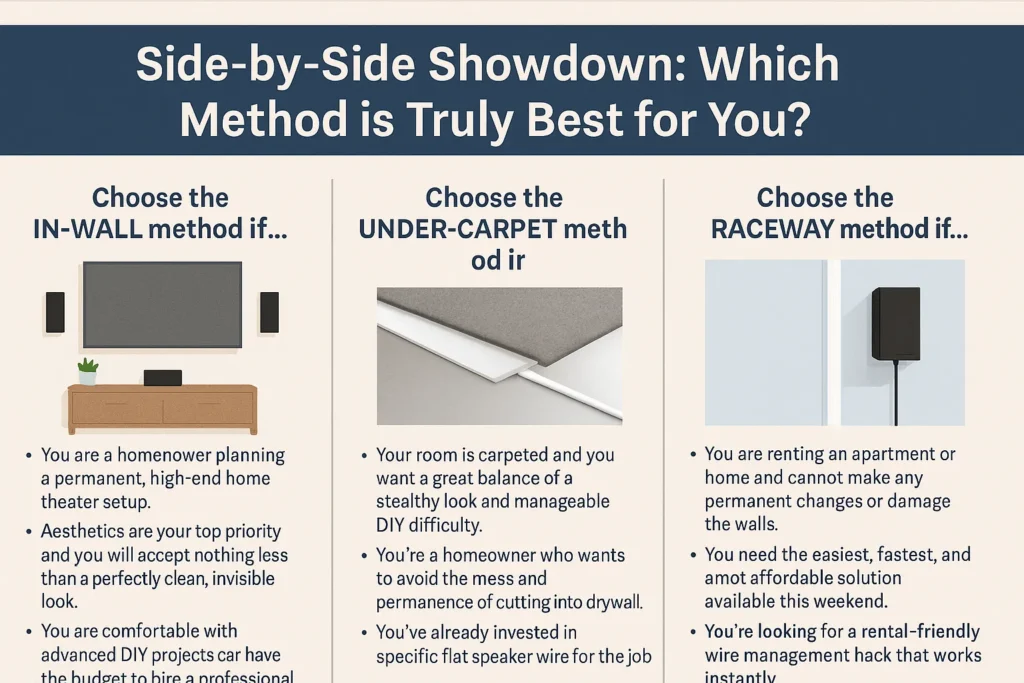
Side-by-Side Showdown: Which Method is Truly Best for You?
So, after all that, how do you decide? The best speaker wire hiding method isn’t the same for everyone; it depends entirely on your living situation, skill level, and priorities.
Choose the IN-WALL method if…
- You are a homeowner planning a permanent, high-end home theater setup.
- Aesthetics are your top priority and you will accept nothing less than a perfectly clean, invisible look.
- You are comfortable with advanced DIY projects or have the budget to hire a professional.
Choose the UNDER-CARPET method if…
- Your room is carpeted and you want a great balance of a stealthy look and manageable DIY difficulty.
- You’re a homeowner who wants to avoid the mess and permanence of cutting into drywall.
- You’ve already invested in specific flat speaker wire for the job.
Choose the RACEWAY method if…
- You are renting an apartment or home and cannot make any permanent changes or damage the walls.
- You need the easiest, fastest, and most affordable solution available this weekend.
- You’re looking for a rental-friendly wire management hack that works instantly.
Conclusion
The journey to a clean, professional-looking entertainment setup is all about choosing the right tool for the job. Whether you go for the flawless permanence of an in-wall installation, the clever stealth of the under-carpet approach, or the easy flexibility of a raceway, each method effectively banishes unsightly cables.
Ready to get started? Once you’ve chosen your preferred method, head over to our comprehensive pillar guide, How to Hide Every Speaker Wire in Your Living Room, for detailed, step-by-step instructions on executing each of these techniques like a pro.