So, you’ve navigated the specs, read the reviews, and settled on the ultimate TV showdown: the inky blacks of OLED versus the eye-searing brightness of QLED. It’s a battle for the ages. But while you’re comparing peak nits and contrast ratios, there’s a crucial, behind-the-scenes factor you might be overlooking: which of these premium technologies is actually easier to calibrate?
After all, a TV’s true potential is unlocked not in the store, but in your living room. The user experience of diving into menus and tweaking settings can be the difference between a good picture and a breathtaking one. This guide isn’t about which tech is objectively better; it’s about which one offers a smoother, more straightforward path to a perfectly calibrated picture. Let’s settle the score.
Understanding the Battle: OLED and QLED Basics
Before we dive into settings, it’s helpful to know why these two technologies behave so differently right out of the gate.
OLED Technology: Self-Lit Pixels
An OLED (Organic Light-Emitting Diode) TV is a marvel of simplicity. Each pixel is its own tiny light source. It can glow a specific colour or switch off completely, delivering truly perfect blacks and infinite contrast. Think of it like a massive grid of microscopic, independent LEDs. This inherent precision is a huge advantage when it comes to calibration, as you’re working with a canvas that has near-perfect fundamental contrast.
QLED Technology: Supercharged LCD
Don’t let the name fool you; a QLED (Quantum Dot LED) TV is essentially a very advanced LCD TV. It uses a brilliant Quantum Dot filter to produce purer, more vibrant colours, but it still relies on a separate backlight—often an array of LEDs behind the screen. Advanced models use local dimming, where zones of these LEDs can dim independently to improve black levels. This is powerful, but it adds a layer of complexity. Calibrating a QLED means managing this backlight, which can lead to challenges like blooming (halos around bright objects).
Round 1: Out-of-the-Box Accuracy
This is the first test: how good does the TV look the moment you press the power button? This is where out-of-the-box colour accuracy really matters.
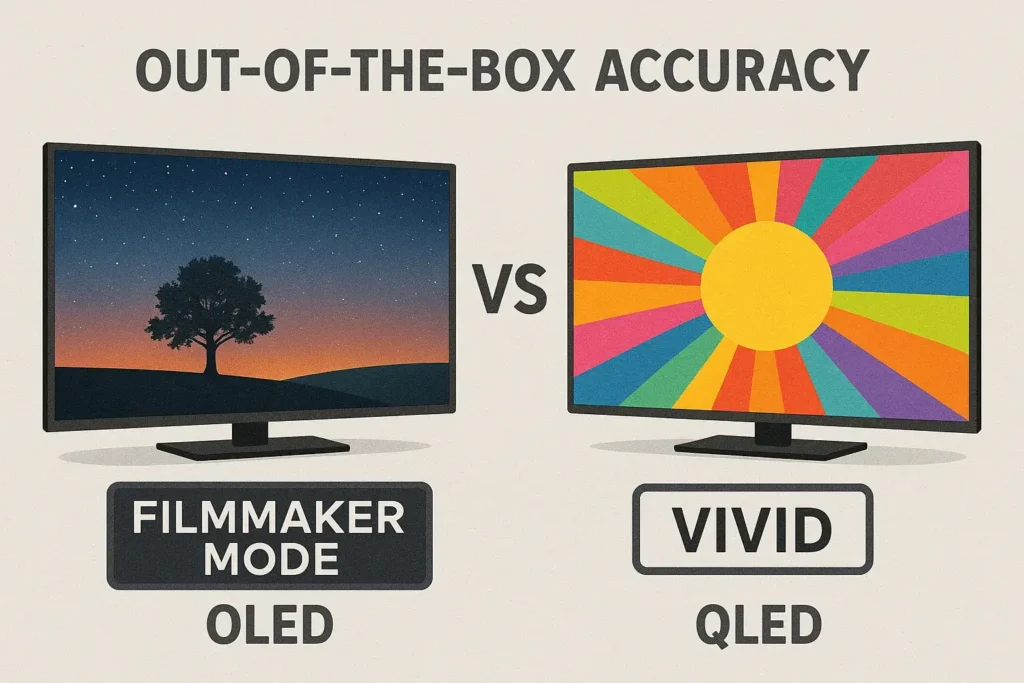
The OLED Experience: Often “Filmmaker Ready”
Most OLED TVs, particularly from brands like LG and Sony, are tuned with purists in mind. The moment you switch to Filmmaker Mode or Cinema Mode, you’re often greeted with a stunningly accurate picture. The grayscale is typically well-balanced, colours are natural, not oversaturated, and the contrast is already perfect. For someone who doesn’t want to fuss with settings, an OLED can be a “plug-and-play” dream for movie night.
The QLED Experience: Built for the Showroom
Many QLEDs, especially Samsungs, are calibrated to win attention in bright, busy electronics stores. This often means the default mode is “Vivid” or “Standard,” which pushes peak brightness and blue colour temperature to extremes. The result? Whites can look unnaturally cool (or blueish), and colours can appear cartoonishly vibrant. It’s exciting for a demo loop but fatiguing for actual viewing. Your first task with a new QLED is usually to undo these settings before you can even start calibrating.
The Quick Verdict:
- Winner: OLED. For the user who wants a fantastic picture immediately with minimal fuss, OLED is typically the clear champion in out-of-the-box accuracy.
Round 2: The Calibration Deep Dive (Key Settings Compared)
Now, let’s get into the nuts and bolts. For those who love to tweak, here’s what you can expect.
Taming the Light: Brightness, Contrast, and Local Dimming
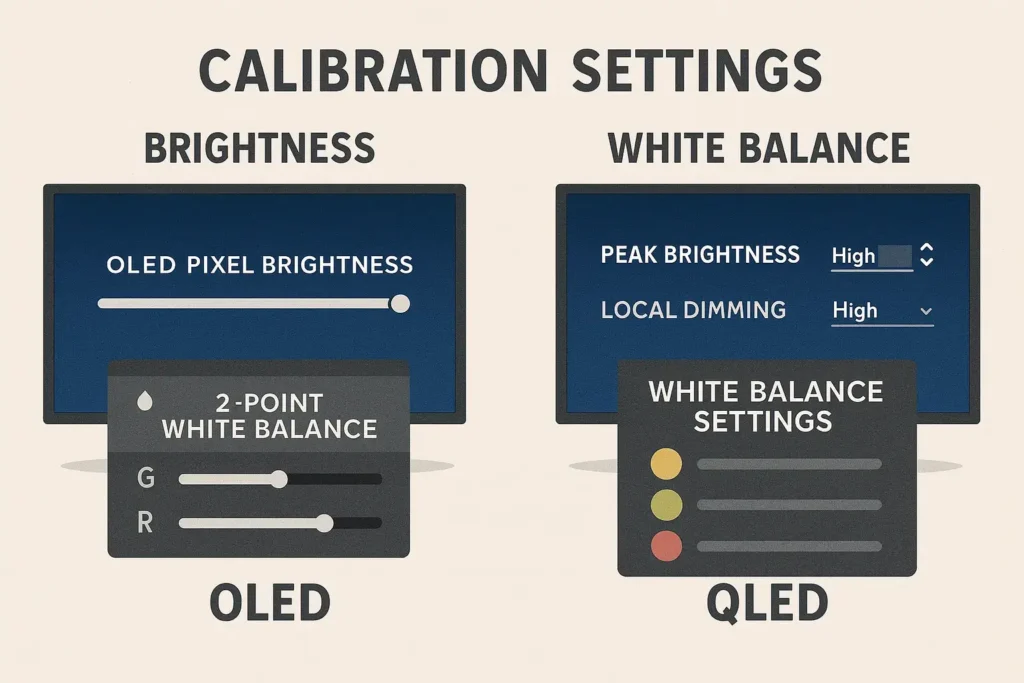
- OLED Calibration Settings: The process here is relatively straightforward. You’ll primarily adjust the OLED Pixel Brightness (which is essentially an energy-saving/peak brightness control) and fine-tune the contrast to ensure highlights aren’t clipped in HDR content. The perfect blacks are already a given.
- QLED Calibration Settings: This is more complex. You’re juggling the Backlight level, Peak Brightness, and Local Dimming settings (often set to Low, Standard, or High). Finding the right balance is key to maximizing impact without introducing obvious blooming or a raised black level.
The Foundation: Nailing White Balance and Colour Temperature
- OLED: You’ll likely use the 2-point white balance menu to make minor adjustments, perhaps removing a slight green or red tint. The starting point is usually so good that this is more about perfection than correction.
- QLED: This is where the real work begins. Fixing the default cool colour temperature is job number one. You’ll almost certainly be diving into the white balance settings to warm up the image and achieve a natural, pure white. This is a fundamental step that significantly differentiates the calibration experience.
Common Calibration Problems (And How to Solve Them)
Every technology has its quirks. Here’s how to solve the most common headaches.
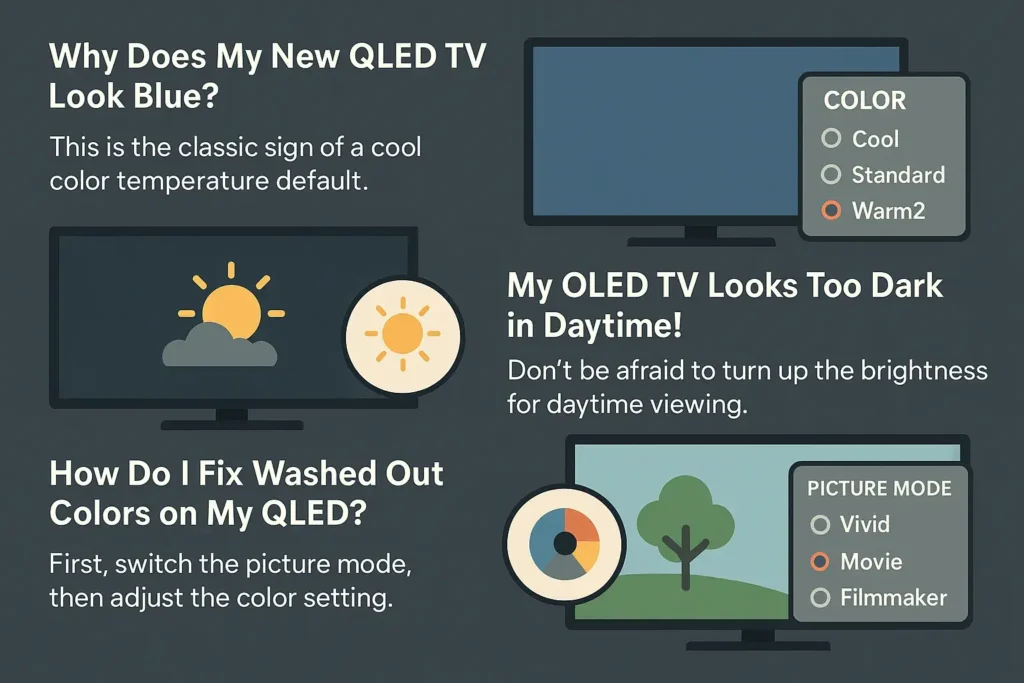
“Why Does My New QLED TV Look Blue?”
The Answer: This is the classic sign of a cool colour temperature default. Don’t panic! Head into your picture settings and look for “Colour Temperature” or “White Balance.” Simply shifting this from “Cool” or “Standard” to “Warm2” will instantly create a more natural and cinematic image. From there, you can fine-tune.
“My OLED TV Looks Too Dark in Daytime!”
The Answer: This is a common and fair criticism. The good news is, this is an easy fix. Don’t be afraid to turn up the OLED Pixel Brightness for daytime viewing. This isn’t “cheating” on your calibration—it’s adapting to your environment. You can always lower it back down for a perfect dark-room experience at night.
“How Do I Fix Washed Out Colours on My QLED?”
The Answer: This usually means the TV is in an incorrect mode. First, ensure you’ve switched from “Vivid” to Movie or Filmmaker Mode. If the image still looks washed out, your backlight might be set too high, diluting the colours. Try lowering the backlight level and then gently increasing the “Colour” or saturation setting.
The Verdict: So, Which is Easier to Calibrate?
After breaking down the process, the winner in the ease-of-use category is clear.
For the viewer who values a seamless, accurate experience right away, OLED is generally easier to calibrate. Its superior out-of-the-box colour accuracy and simpler relationship between its settings mean you spend less time fixing problems and more time enjoying a near-perfect picture.
This isn’t to say a high-end QLED can’t achieve a stunning, accurate image—it absolutely can. However, it requires more patience, more tweaking, and a better understanding of how settings like local dimming and white balance interact to get there. The journey to a calibrated screen is just a longer one.
Your Next Step: Master Your TV’s Calibration
Now that you know what to expect from your OLED or QLED, it’s time to get the absolute best picture possible. Whether you chose the infinite contrast of OLED or the brilliant luminance of QLED, our ultimate guide, How to Calibrate Your TV for the Perfect Picture, will walk you through the entire process step-by-step.
We’ll show you how to use basic tools your eyes, free test patterns, and advanced settings to dial in your gamma settings, colour space, and more. It’s the perfect next step to becoming your home’s expert.
And if you’re still weighing your purchase decision, our comparison of OLED and QLED technologies might offer more clarity. No matter what you choose, you’ll be equipped to unlock its full potential.